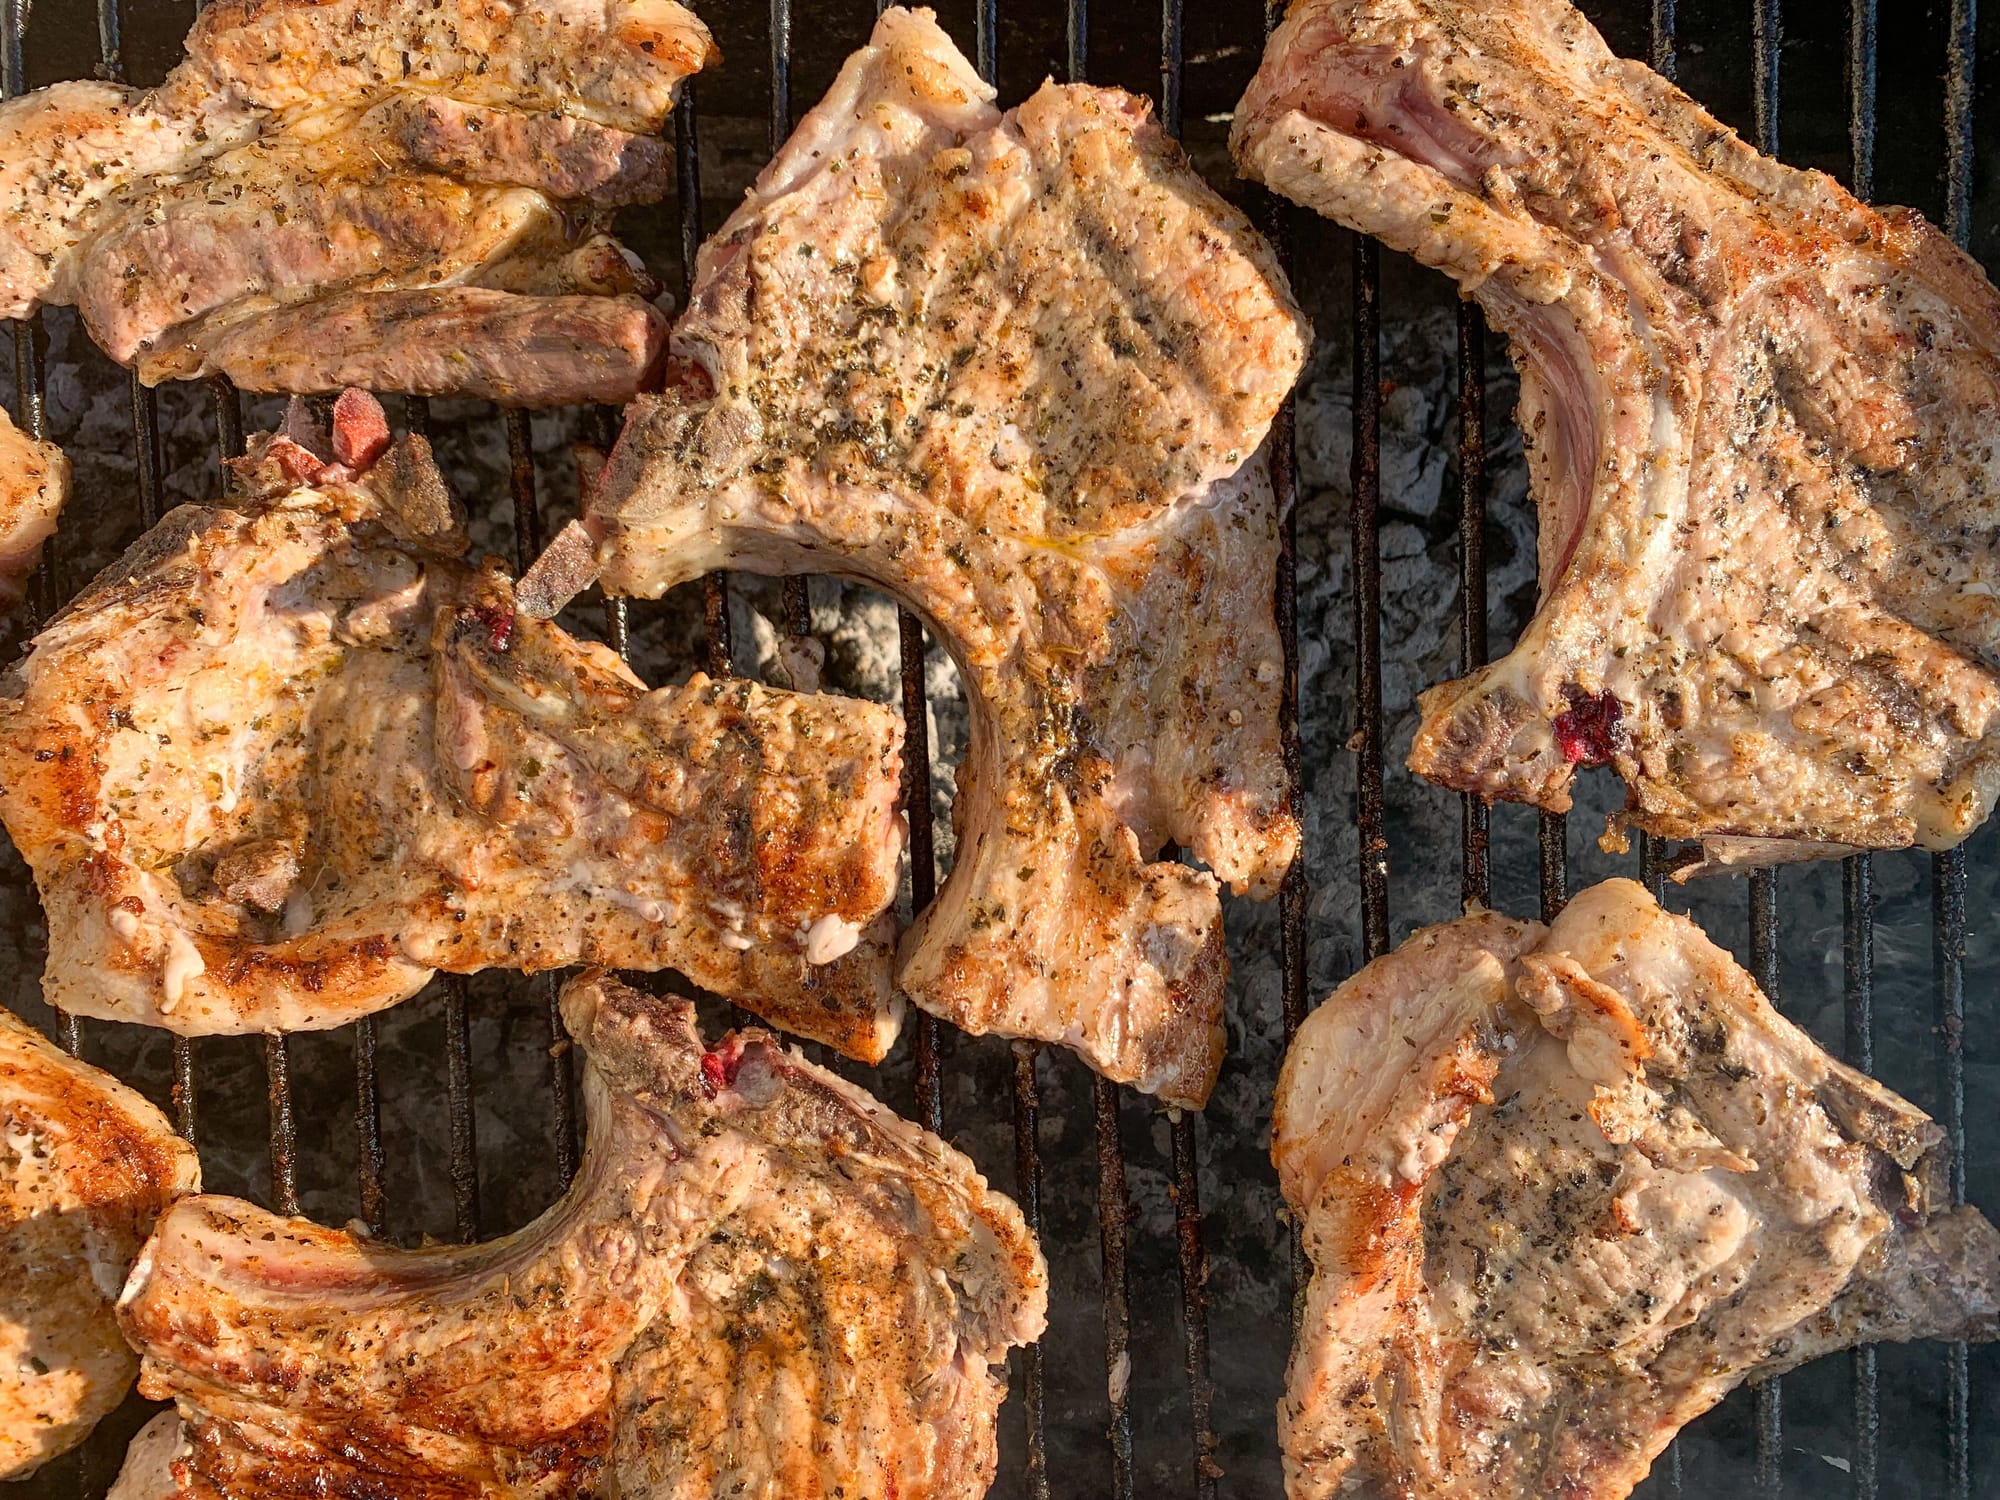
A two-inch bone-in pork chop off most backyard grills looks like a steak and eats like a hockey puck — gray straight through, dry at the edges, and cooked by the same "hot and fast" instinct that works fine on a half-inch cutlet but murders anything thicker. The chop is one of the most mishandled cuts on the entire smoker circuit, mostly because pitmasters who've mastered a fourteen-hour brisket still treat a pork chop like a burger patty: throw it on high heat, flip once, pull it when the outside looks done. Reverse searing flips that logic. You bring the chop up slowly on smoke first, then finish it with a short, violent blast of direct heat, and the result is a chop that's smoky and rosy edge-to-edge with a crust you'd get from a steakhouse broiler. It takes maybe ten more minutes than grilling it straight, and the difference on the plate is not subtle.
Buy the Right Chop or Don't Bother
Reverse searing only pays off on a thick cut — under 1.5 inches, the smoke phase is over before the meat has time to pick up any real flavor, and you're better off just grilling it hot and fast in eight minutes. Look for bone-in center-cut chops at least 1.5 to 2 inches thick; a butcher counter will cut these to order, and Costco's Kurobuta pork chops (often sold in vacuum-sealed pairs, roughly $7–$9 a pound) are thick enough for this method straight off the shelf. The bone matters here for more than presentation — it insulates the meat closest to it, slowing the cook right where chops usually overcook first, and it holds the loin's shape so the whole chop cooks more evenly under low heat. If your only option is a thin chop, don't force the method onto it. Grill it directly over high heat instead and save reverse searing for when you've got the right piece of meat in hand.
Salt It the Night Before, Not the Hour Before
Dry brine this cut instead of soaking it in a wet brine — the wet method dilutes the surface, and a wet surface is exactly what sabotages the sear later. Pat the chop dry, season it generously with kosher salt (about ¾ teaspoon per pound) the night before, and leave it uncovered on a wire rack in the fridge. The salt draws moisture out initially, then the meat reabsorbs it over several hours along with the dissolved salt, seasoning the chop all the way through instead of just the surface. By morning the exterior is noticeably drier to the touch, which is exactly the texture you want going into the smoker. Skip this step and you're working with a wet, under-seasoned chop that steams instead of smokes for the first twenty minutes on the grate — a bad start you can't fully recover from later.
The Smoke Side of Reverse Sear
Set your smoker to 225°F and get your wood sorted before the chop goes on, because once it's on the grate you want to leave it alone. Place the chop away from direct heat, insert a leave-in probe (a ThermoWorks Smoke or similar), and let it ride until the internal temperature hits 130–135°F — this usually takes 45 to 75 minutes depending on thickness and how cold the chop was going in. Pull it at that number, not a degree higher; the sear that follows will add another 10–15 degrees, and USDA guidance puts pork safely done at 145°F with a rest, so overshooting on the smoke side means an overcooked chop before it ever touches the pan. This works cleanly on a stick burner or a kamado holding a steady 225°F. It's trickier on some pellet grills, where the auger cycles keep the actual grate temperature swinging 20–30°F around the set point, which can stretch that low-and-slow window longer than the clock suggests — if that's your rig, trust the probe over the timer.
Picking Wood That Doesn't Fight the Pork
Fruit woods flatter pork far better than the heavy woods people default to. Apple and cherry both bring a mild sweetness that complements the fat without masking it, and they're the right call for a chop this size since the smoke exposure is short — under 90 minutes rarely builds up the bitterness that heavier woods can leave behind. Hickory works fine but comes on stronger, so use less of it than you would on a shoulder or brisket; a couple of fist-sized chunks buried in lump charcoal is plenty. Post oak, the Texas brisket standard, is too subtle to register in this short a cook — save it for the longer smokes where it actually has time to do something.
The Sear
This is where most reverse-seared pork chops fail — not on the smoker, but in the ninety seconds after it.
Get a cast-iron skillet (a Lodge 12-inch is the standard workhorse) or the direct side of your grill ripping hot, somewhere around 450–500°F, before the chop ever comes off the smoker. Add a tablespoon of a high-smoke-point oil, and once it's shimmering, lay the chop down and don't move it. Sear 60–90 seconds per side, basting with a couple tablespoons of butter and a smashed garlic clove in the last 30 seconds if you're using the skillet method — the butter browns fast at this temperature, so keep it moving under the chop rather than letting it sit and scorch. You're chasing a deep mahogany crust, not just grill marks; if the surface still looks pale after 90 seconds a side, your pan wasn't hot enough to start.
Rest It Properly and Don't Skip This Part
Pull the chop once it reads 145°F and let it rest on a cutting board for five minutes before you cut into it. Carryover heat will push it up another few degrees during that rest, which is exactly the buffer you built in by pulling early off the smoker. Cutting into a chop straight off the pan sends most of the juice you worked for straight onto the board instead of staying in the meat — five minutes costs you nothing and changes the outcome completely. Bone-in chops hold heat longer than boneless cuts do, so that rest window is more forgiving here than it would be on a thin boneless loin chop, which can go from resting to cold in the same five minutes.
The stall isn't really a concern on a cut this size, but the reverse-sear method does have one blind spot: chops thicker than 2.5 inches can hit 130°F on the smoker while the very center is still noticeably cooler, since a probe reading is only as good as its placement. Push the probe to the true geometric center of the chop, not just partway in, and if you're working with an unusually thick cut, pull it a few degrees early and let the sear and rest close the gap rather than risking an overcooked exterior chasing an undercooked core.
A properly reverse-seared chop needs nothing more than the crust and the smoke ring already sitting behind it — a squeeze of lemon or a spoon of the pan butter over the top at the table, and that's genuinely the whole finish.