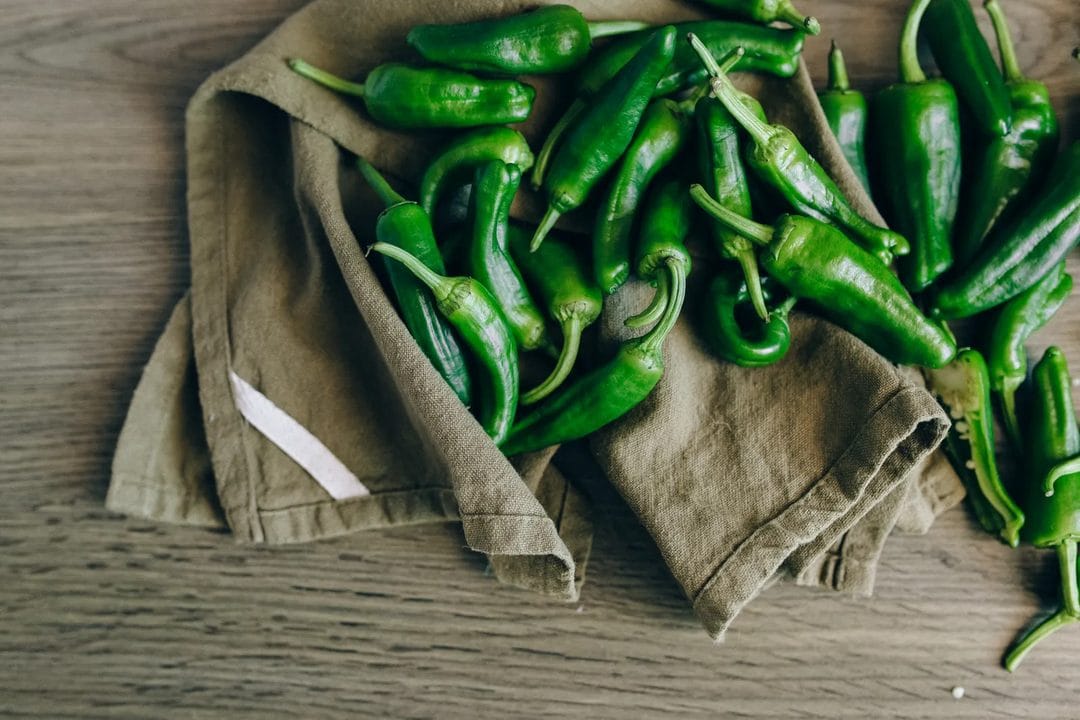
Drive through Albuquerque or Santa Fe in late August and you will smell it before you see it: propane roasters spinning wire drums of green chiles outside every grocery store parking lot, the skins blistering black while the line of customers stretches past the shopping carts. That window is closing. Hatch chile season runs roughly from late July through early-to-mid October, with the heaviest volume in August, and by the time most of the country notices the hashtags, there are only a few good weeks left to buy them fresh. If you have not made a pot of chile verde yet this year, this is the moment — and a low-and-slow braise is the right way to do it, whether that means a Dutch oven in the oven or a slow cooker on the counter.
What Makes Hatch Chiles Different
"Hatch chile" is not one pepper — it is a category of New Mexican long green chiles grown specifically in the Hatch Valley along the Rio Grande, where the mix of volcanic soil, hot days, and cool nights produces a flavor growers and cooks swear you cannot replicate anywhere else in the country. Varieties like Sandia and Big Jim make up most of the commercial crop, and both run anywhere from mild to genuinely hot depending on the growing conditions that particular year. New Mexico State University's chile breeding program in Las Cruces has spent decades refining these cultivars specifically for the valley's soil and irrigation patterns, which is part of why growers there guard the Hatch name so closely. Poblano peppers grown in other regions share a similar shape and a comparably mild heat range, but Southwest cooks and produce buyers treat them as an entirely different ingredient, not an interchangeable stand-in. That is the part people get wrong about heat, though: it is not a fixed trait of the variety, it swings batch to batch, sometimes bag to bag from the same farm stand. Buy a small amount and taste a sliver before committing a whole pork shoulder to it.
Once the local harvest wraps up in October, fresh Hatch chiles disappear from produce aisles almost entirely. Grocers who ran roasting events in August and September — chains like Central Market, Whole Foods, and plenty of regional co-ops do this every year — often sell the frozen roasted version afterward, usually vacuum-sealed in one-pound bags. Frozen roasted chiles lose a little textural snap but keep almost all of the smoky flavor, and they are a completely reasonable substitute once the fresh window shuts. Canned Hatch chiles, by contrast, taste tinny and flat next to either fresh or frozen — skip them if you have any other option.
Roasting and Peeling, If You're Starting From Raw Chiles
If you picked up fresh chiles at a roasting stand, they likely already came off the drum charred and ready to bag. If you are roasting your own at home, char them directly over a gas burner or under a broiler until the skins blister and blacken on all sides, then seal them in a paper bag or a covered bowl for ten to fifteen minutes. The trapped steam loosens the skins so they slip off with your fingers instead of tearing the flesh underneath. Wear gloves for this step if you are working through a hot batch — the oils sit on your fingertips for hours afterward and will find their way to your eyes at the worst possible moment. Do not rinse the peeled chiles under running water to get the last bits of skin off — you will wash away the roasted flavor along with it. A few black flecks left on the flesh are fine; that is where a lot of the smokiness lives.
Slit each chile open, scrape out the seeds and the white membrane with a spoon, and rough-chop the flesh. If you bought frozen roasted chiles, thaw them and drain off the liquid that collects in the bag before chopping — that liquid is mostly water from the freezing process, not flavor you need to keep.
Searing the Pork Before It Goes Anywhere Near Liquid
Pork shoulder — sold as pork butt or Boston butt at most grocery counters — is the right cut here because the fat and connective tissue running through it are exactly what breaks down into rich, spoon-tender meat over a long braise. Cut a four- to five-pound shoulder into two-inch chunks, season generously with salt, and sear in batches in a heavy Dutch oven over medium-high heat until each piece has real color on at least two sides. Crowding the pot is the single most common mistake here: too much meat at once drops the pan temperature and the pork steams in its own juice instead of browning, which means you lose the fond — the browned bits stuck to the bottom of the pot — that would otherwise dissolve into the braising liquid and carry flavor through the whole dish.
Once the pork is browned, pull it out, soften a chopped onion and several cloves of garlic in the rendered fat, then add the roasted chiles, a couple of cups of chicken broth, and the pork back in along with any juices that collected on the plate.
Dutch Oven Versus Slow Cooker: Pick Your Timeline
Both methods get you to the same place — pork that shreds with a fork rather than needs a knife — they just spend the time differently.
Oven braise
Cover the pot and put it in a 275°F oven. That temperature is not arbitrary: recipe developers who tested this at 225°F found the pork took noticeably longer to break down and never quite got there in a normal afternoon, while 275°F reliably produces fall-apart pork in about three hours. Check at the two-and-a-half-hour mark and again every twenty minutes after that — ovens run hotter or cooler than their dial says more often than people assume, and three hours is a target, not a guarantee.
Slow cooker
If you would rather leave the house, transfer everything to a slow cooker instead of the oven. Cook on low for seven to eight hours or on high for four to five, until the pork shreds easily with two forks. The slow cooker runs cooler and gentler than a 275°F oven, which is why it needs the extra hours to hit the same texture — there is no shortcut that gets you both speed and tenderness in this method.
Either way, the target is an internal temperature of roughly 200–205°F, well past the USDA's 145°F minimum safe temperature for whole cuts of pork. That gap matters: 145°F is where pork becomes safe to eat, but it is nowhere near where the collagen in a shoulder has had time to melt into gelatin. Pull the pot at 145°F and you will have safe, chewy pork. Pull it at 200–205°F and you will have pork that falls apart at the touch of a fork — which is the entire point of braising a tough cut instead of grilling a tender one.
Adjusting for Heat You Can't Predict Until You Taste It
Because Hatch chile heat varies so much from batch to batch, taste the braising liquid about halfway through cooking rather than waiting until the end. If it is milder than you expected, a diced jalapeño or a spoonful of chile flakes stirred in for the last hour will bring it back up. If it came out hotter than planned — which happens more often than anyone wants to admit with a truly hot Big Jim batch — a dollop of sour cream or plain Greek yogurt stirred into the bowl at the table cuts the heat far better than adding more liquid to the pot, which just dilutes the flavor along with the spice.
Skip the cream up front, though. Dairy added early in a long braise tends to break or curdle over hours of low heat, and you lose the smooth finish you were going for in the first place.
Serving It and Freezing What You Don't Eat
Green chile pork stew is one of the few braises that genuinely improves the next day, once the flavors have had a night in the refrigerator to settle. Serve it straight in a bowl with warm flour tortillas, spoon it over rice, ladle it into a burrito with black beans, or — the move a lot of New Mexico households make on weekend mornings — smother a couple of fried eggs in it for breakfast. It also holds up well as a topping for baked potatoes if you want something heartier than a taco.
- Portion leftovers into quart freezer bags and lay them flat in the freezer — flat bags thaw in a bowl of warm water in under twenty minutes, upright containers take most of an hour
- Label bags with the date; a well-sealed batch holds its flavor in the freezer for about three months before the chile flavor starts to fade
- Reheat gently on the stovetop over low heat rather than the microwave, which tends to make the edges of the shredded pork rubbery
Chile season will not wait for a slow weekend to open up. If you see fresh Hatch chiles at the store this week, buy more than you think you need — a double batch costs almost nothing extra in active time once the pork is already in the pot, and by November you will be glad you have a stack of bags in the freezer instead of a browser tab full of recipes for chiles that are already gone for the year.